As a displaced New Yorker, one of my unsatisfied cravings, besides pizza, is Italian ices. They just don't exist out here in Colorado. My college summers, spent working at a day camp on Long Island, were amazing and full of insane amounts of Italian ices. When we grew tired of night swimming or having impromptu dance parties, we would all borrow my parents' mini-van, pack in as many bodies as possible and drive to Ralph's Italian Ices. For those of you who are unfamiliar, Italian ices don't simply come in lemon or cherry. Ralph's had more flavors than an ice cream shop: snickers, almond joy, jelly ring, toasted coconut. It was so good!
Yesterday, while frolicking in the snow with Emmett, I wanted a sweet treat. I vaguely remembered my mom letting us gather snow and pour juice over it. Then I thought, "Maybe a little milk, sugar and vanilla would work instead of juice?" I left the boy outside to play with the snow mountain that we made for his cars, and gathered my supplies. I filled a bowl with clean, non-yellow snow, whisked together my other ingredients, poured them on top of the snow, mixed it all together, took a taste and was whisked back to Long Island. The vanilla snow ice cream had the same texture and flavor as my beloved, long-lost Italian cream ices. If you decide to try this recipes, the world is your oyster. Try tossing in some mini-chocolate chips or blending some raspberries or strawberries into your milk mixture! I currently have a batch chilling and solidifying slightly in the freezer. Can't wait to save it for my "child is napping" treat!
"Snowmade" Vanilla Ice Cream
*Yields about 6 cups of ice cream
1 1/2 cups of whole milk [if you don't have whole milk, feel free to play around with a mixture of milks: equal parts half and half and nonfat milk or nonfat milk with a couple tablespoons of heavy cream added in]
2 t good vanilla extract
3 T sugar
8 cups-ish of snow
Whisk together the milk, vanilla and sugar. Let stand for a minute or two while you gather your snow.
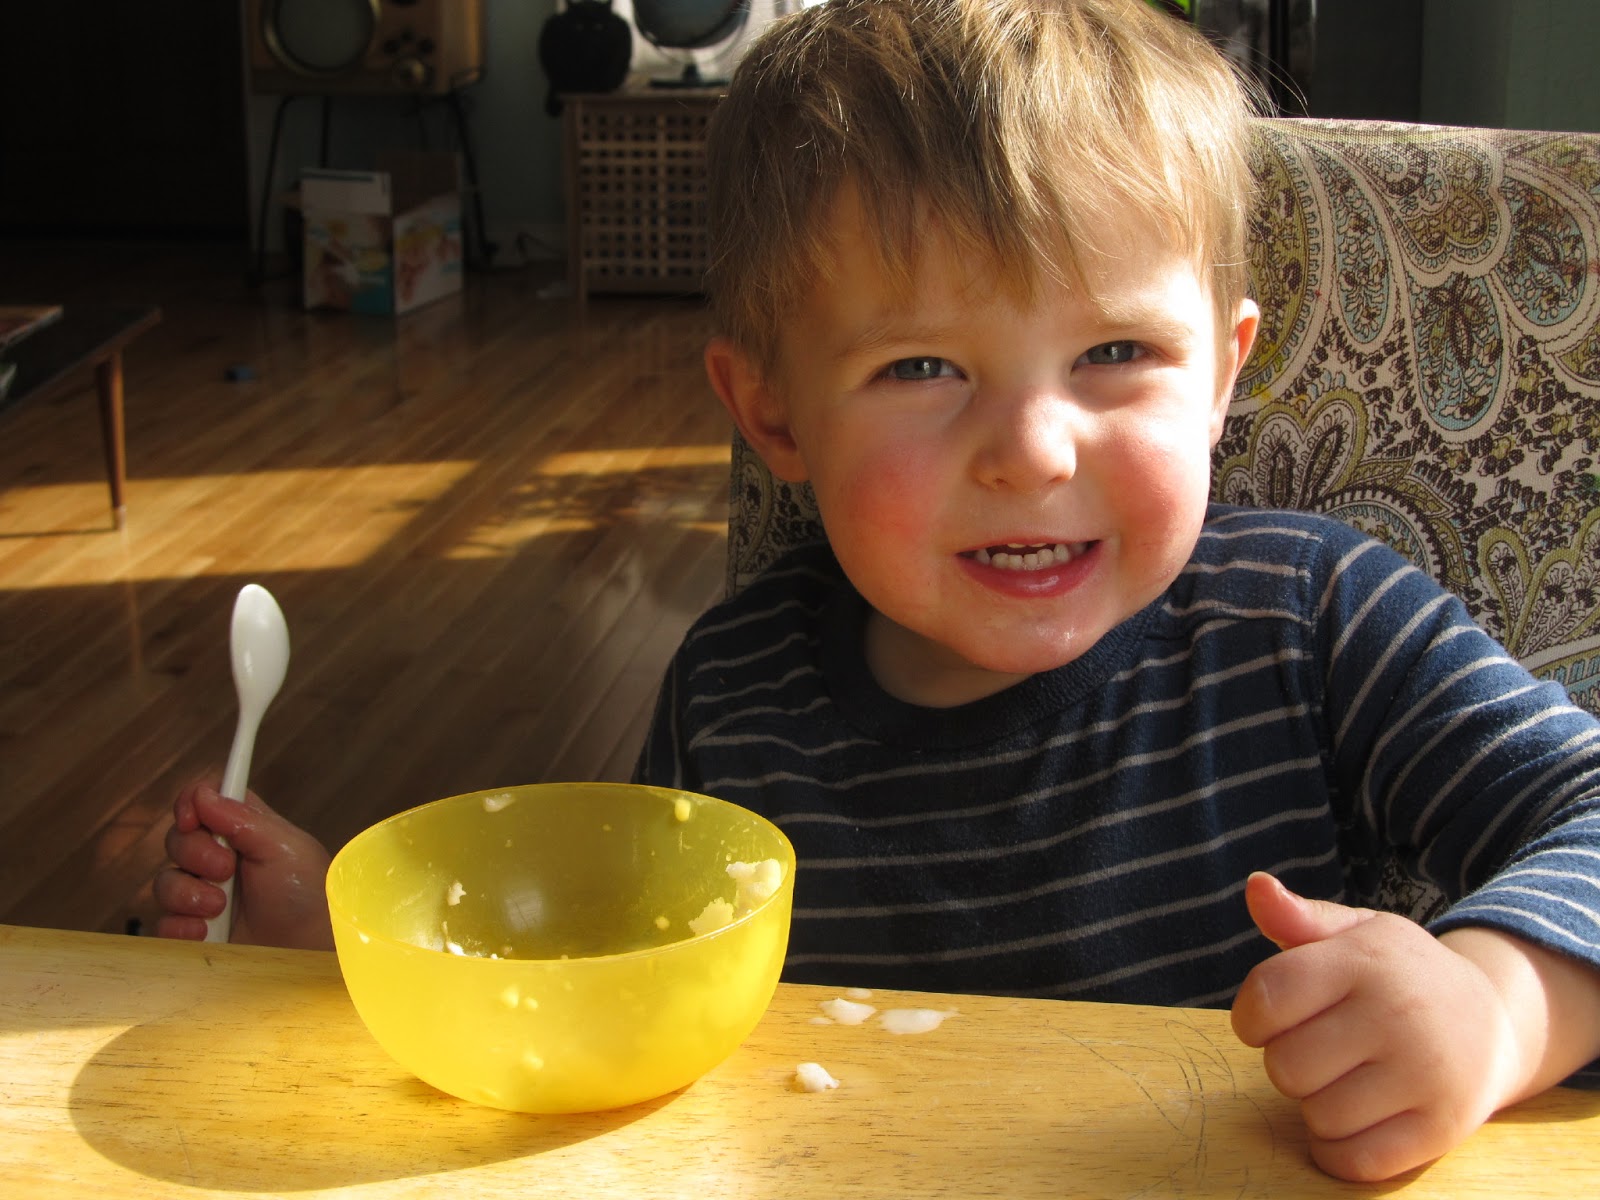
Fill a mixing bowl with approximately 8 cups of snow. Pour the milk mixture over your snow, feel free to let little ones help with the whole process. This boy could hardly wait!
After the mixture has been poured, it will look like this:
Mix the snow and milk mixture until the milk mixture is fully incorporated into the snow. The snow will melt slightly during this process.
Dish up immediately or scoop some into tupperware and freeze for later.
I took the little one on a trip to the library last week. As soon as I stepped foot inside, I swear that the lights dimmed, "Let's Get It On" came on and a shimmery spotlight shined down upon the new Smitten Kitchen cookbook. Of course, I threw my two year old to the side and ran to get it into my little paws.
I have been having luxurious moments sipping coffee while staring at her photos, pretending not to hear the little one sneaking playing with his trucks while he is supposed to be napping. She has a recipe for chocolate chip brioche soft pretzels in her cookbook that looks unbelievable and has had me craving soft pretzels since I read the recipe.
Of course, we also decided to watch calories a week or so before I picked up her book. I keep getting inspired by her and wanting nothing more than to spend my days baking and frolicking in the kitchen, but alas.
This weekend was a different story, it was our cheat day and it was chilly and slightly snowy outside. As soon as the little one went down for his nap, an urge to knead dough and have fresh baked goodness took over.
I started to make a generic bread dough and then thought, "What if I finally tried to make soft pretzels, the kind that you boil first?" Well, they were awesome and all that you could over hope for on a snowy afternoon!
The trick was in the boiling method. I checked with Alton Brown first and am so glad that I did. He added baking soda into his boiling water. The boiling before baking creates the signature doughiness of a soft pretzel and the baking soda changes the water's acidity to alkaline which encourages the chemical reaction that beautifully browns the outside of the soft pretzel. I really think that this boiling method covers over a multitude of dough issues too. I basically made a pizza dough and used it, but you could use any dough you want and trust that the boiling before baking method will yield a doughy and delicious soft pretzel.
Homemade Soft Pretzels
1 1/2 cups of 115 to 120 degree water
1 t sugar
1 1/2 t active dry yeast
1 t kosher salt
2 T olive oil
3 1/2 cups of all purpose flour
For Boiling
10 cups of water
2/3 cup of baking soda
Topping
1 T water
1 egg yolk
2 tsp coarse sea salt
Lightly stir the sugar and yeast into the warm water to combine. Let sit for about five minutes so that the yeast can start to work. You will see slight foaming after the five minutes. This means that the yeast is working!
Pour the yeast mixture into a large mixing bowl. Add to this mixture, the salt, oil and flour. Stir the mixture with a wooden spoon to until it just starts to come together and then remove your rings to start kneading.
Remove the dough from the mixing bowl and knead for about five minutes until the dough is so elastic that when you push your thumb into the dough, the thumbprint immediately pops back out.
At this point, roll your dough into a ball and place it back into the mixing bowl. Cover with plastic wrap and let rise for at least two hours in a warm place. My little tip, especially on cold days in the middle of winter, is to turn the oven on low [about 200 degrees] and let the dough rise in its bowl on top of one of the burners.
After two hours, the dough should have doubled in size.
Remove the dough from the bowl and divide it into eighths. Roll or squeeze each dough piece into a long rope, about 18 inches in length.
Twist each dough length into a pretzel shape. I did this by forming the dough into a "U" shape, then twisting both ends of the "U" together a couple of times before bringing the twisted ends down and pressing them into the bottom of the "U" shape.
Preheat the oven to 450 degrees. Bring the water and baking soda to a boil in a large soup pot. Meanwhile, line a large baking sheet with either a silpat or parchment paper. Boil each pretzel for 30 seconds. The pretzels will drop to the bottom of the pot and then float towards the top of the water towards the end of the 30 seconds. Once each pretzel has boiled, retrieve it from the water with a spatula and place it on the silpat or parchment paper.
Beat together the egg yolk and tablespoon of water. Brush the top of each pretzel with the egg yolk mixture and sprinkle the coarse salt on top.
Bake at 450 for about 15 minutes or until the pretzels are nicely browned.
Eat the pretzels as is or with mustard or, even better, with some cheese sauce!